
I recently moved to a new home, and my home lab situation has changed dramatically. No longer does the ‘work from home’ office and the home lab share the same space, and where previously both were in the basement, now each are in completely different parts of the house. And with the lab still mostly packed up in boxes, unfortunately.
Recently the need arose to do some AIX X11 testing in my home office, so an old IBM 43p Model 150 (7043-150) was pressed into service. Normally, real physical peripherals would be used, but unfortunately a lot of those items are still boxed up and buried away down in the lab, and cluttering up the desk yet another monitor wasn’t desirable. A natural solution would be a KVM, especially a network-based KVM where a ‘real’ keyboard, mouse, or monitor would not be needed.
Avocent (now Vertiv) manufactures a line of very nice KVM appliances, which are great solutions for home labs and datacenter deployments alike. Avocent’s KVMs are of the type that use ‘dongles’ attached to the connected computers, which are then connected to the KVM itself via standard Ethernet cables. This allows for a variety of different modules to be used depending on the system to be connected; PS2+VGA, USB+DVI, USB+VGA, DB9 Serial, and so on. This design also allows for very clean cabling, and a relatively short parts list for deployments in the field. Everyone sells Ethernet cables these days.
The more powerful Avocent KVMs also include Ethernet connectivity, which provide the ability to work with KVM connections through the network. The oldest use the Avocent DSView server software, which acts as a kind of ‘helper’ that performs all of the heavy lifting, allowing connecting computers to access the connected systems through an app or web browser connection. The newer KVMs have that functionality baked right into the KVM itself, eliminating the need for the DSView software entirely, this time allowing a computer to access a system through the KVM through either a Java QuickStart application, or through an HTML5 browser-based application. Since Java QuickStart can be such a tremendous pain in the you-know-what to get working on a modern computer, the KVMs that have HTML5 based solutions are pretty much the only reasonable ones to use these days.
Other vendors (such as Dell, HP, and IBM) have also re-branded the Avocent hardware and software over the years, so its an extremely common platform in data centers, allowing for compatible KVMs, dongles, parts, and accessories to be easily found online for cheap prices.
Additionally, certain USB dongles can remotely mount ISO files through the ‘viewing’ computer, over the network, to the KVM, and then through the dongle to the connected computer, which presents the ISO as a virtual CDROM drive. Performance can be slow, but the flexibility can be extremely handy. In a previous job at a now-defunct major retailer, hundreds of these KVMs were deployed for remote connectivity to the various headless back-end servers, along with these USB dongles. I was a bit of a rock star as I developed a procedure for doing firmware and VMware upgrades on remote IBM x3250 M4 systems without needing to send a tech on-site. The Avocent systems are relatively expensive up front (new, ~$1000) but are usually much cheaper than sending a person on-site. If you avoid even one service call, they’ve paid for themselves.
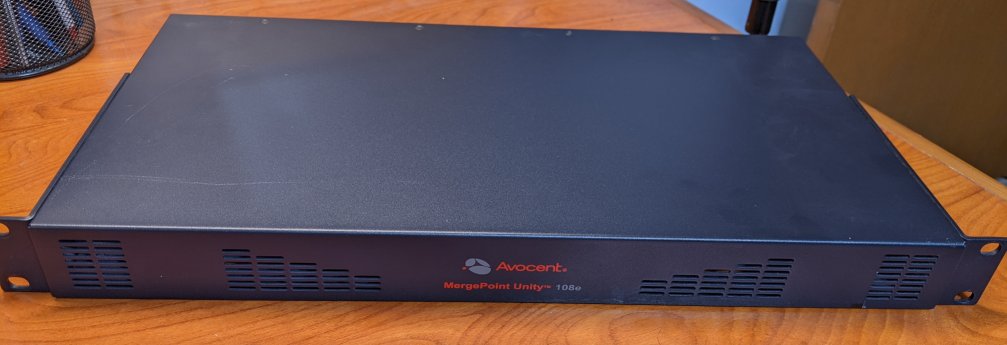
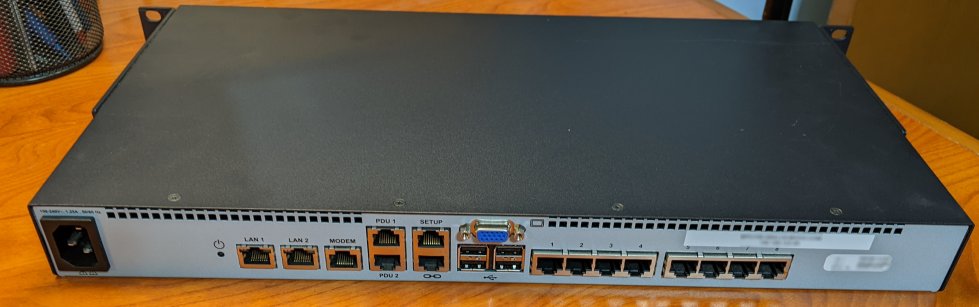
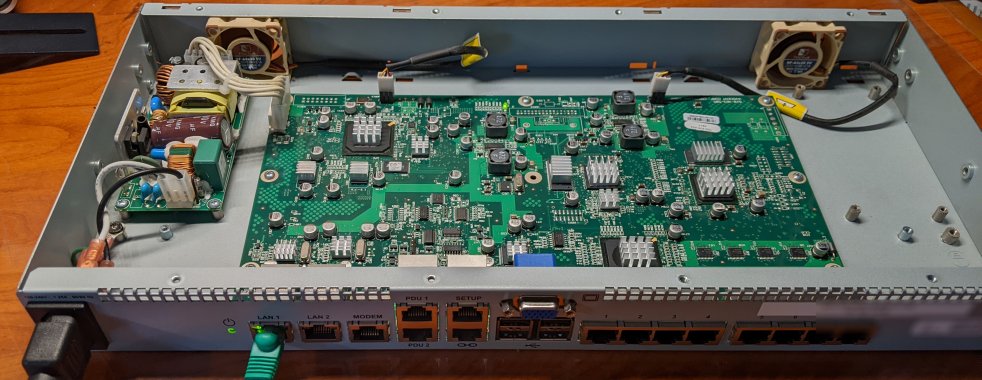
One model that supports all of these great features is the Avocent MergePoint Unity MPU108e. The MPU108e has 8 KVM ports, USB support, network connectivity, and most importantly, remote HTML5 KVM sessions. It runs an AMCC PowerPC PPC405EX processor clocked at 400MHz, has 128MB of DDR memory, dual Gigabit Ethernet ports, PCI Express, and USB. It is quite possibly more powerful than many of the systems I’ll end up connecting through it. The MPU108 and its supported dongles can be picked up relatively inexpensively, usually for around $200. An MPU108e has lived in my lab in one capacity or another for several years now, and it will be a perfect fit for the home office.
Not everything is peaches and cream with the MPU108e, though. It’s loud. Not obnoxiously loud like some enterprise 1U gear can be, but still louder than anything else in the office. It has two little 40mm fans just screaming away, and while not deafening, they are at just the right frequency for the sound to be … piercing.
Now, the move to work from home has been nice, and one of the niceties has been just how quiet it can be. So when the MPU108e was set up in my office, it was like a white noise generator stuck under the desk. An Android app of dubious quality measured these sound levels:
| Off | On | |
| Head height | 27dB | 33dB |
| 2′ from KVM | 28dB | 40dB |
33-40 dB is typically given as an example of ‘Quiet rural area’, or ‘Library’, or ‘Running Computer’. To my ear, I would say these are good examples. In its original state, MPU108e is louder than the desktop computer sitting right next to it, and was perceivable as the loudest noise in the office.
Followers of Reddit’s /r/homelab will be familiar with the task of making otherwise loud enterprise gear quieter using aftermarket fans. Having never personally done that before, this KVM should be a good first try.
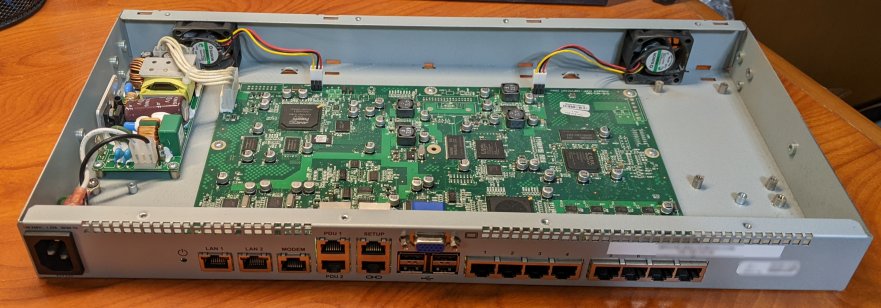
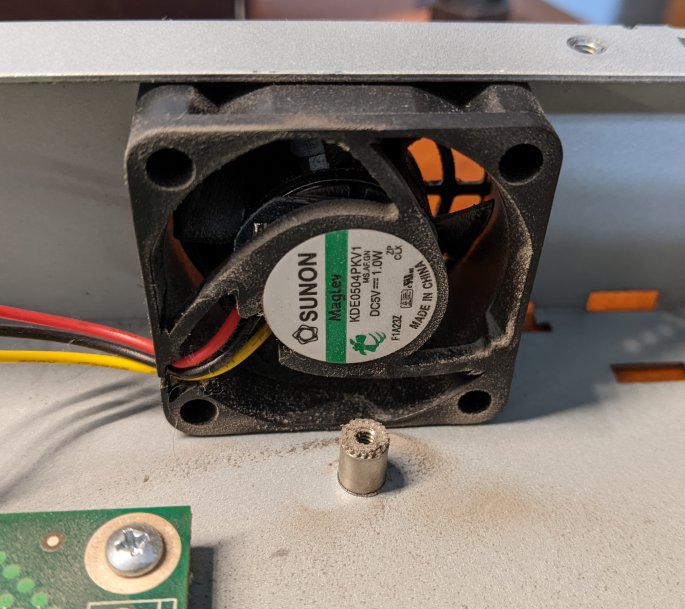
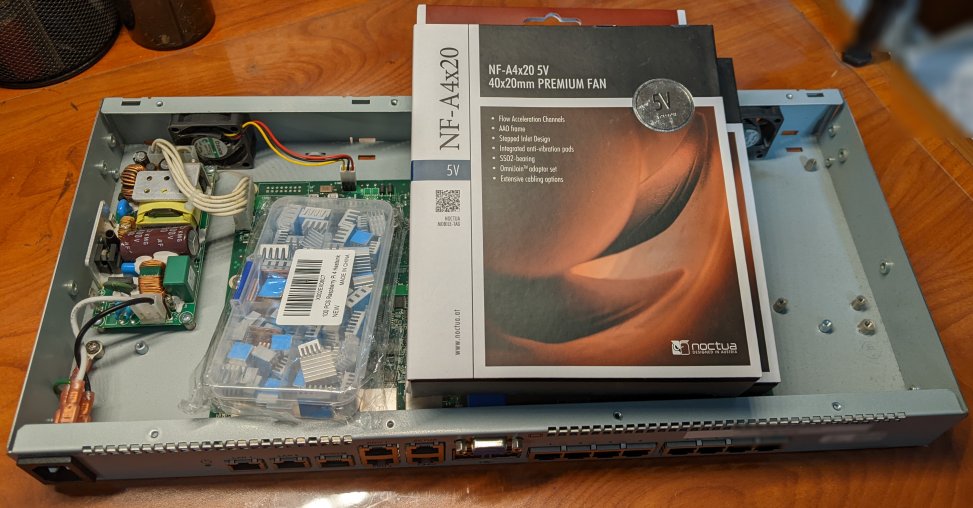
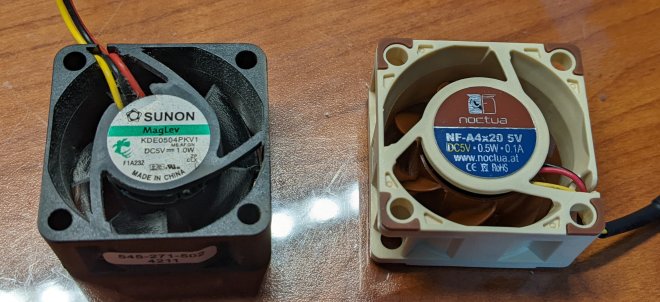
Opening the MPU108e revealed two Sunon KDE0504PKV1 fans. 5V, 40x40x20mm, 8.9CFM, 1.1W, 25.5dBA, 7200RPM. Pretty standard 5V fans. There didn’t appear to be anything actually wrong with the fans, they were just naturally loud. No documentation of the sense pin could be found, unfortunately. Usually the ‘sense wire’, or 3rd wire, is either for a tachometer, or a ‘rotor lock’ indicator, with tachometer generally being the most common option.
Chosen replacement fans are the Noctua NF-A4x20 5V, a 5V, 40x40x20mm, 5.5CFM, 0.6W, 14.9dBA, 5000RPM fan. These fans have similar specs to the Sunon fans, but have roughly half the CFM, half the power consumption, half the sound output, and 70% the RPM. The noise reduction is desirable, and hopefully the CFM reduction won’t be too detrimental.
The princely sum of $14.95 each was paid in January 2022. The price was higher than initially expected, but the Noctua fans have fantastic reviews, and are generally considered the best ‘quiet’ fans on the market. The purchase was also a good way to personally see if the Noctua brand was objectively any good. And honestly, getting a decent quality brand name fan (such as Delta) from a reputable company (such as Mouser) would cost about $13 each anyway, so its not like the prices are all that outrageous. It does, however, make you question how you got to the point in your life when you are seriously considering dropping $30 in fans to make an old KVM quieter.

While shopping for the fans, a small kit of self-adhesive heat sinks normally used for Raspberry Pi SBC systems was also purchased. They are relatively cheap these days, and it was unknown if they would be genuinely needed, as the CFM drop shouldn’t affect the thermals all that badly. But for $13.99 for 100 heat sinks, it couldn’t hurt to put some on the critical components. Plus there would be a lot left over for other projects.
Through the glory of the modern age (plus the internet) replacement parts arrived three days after ordering.
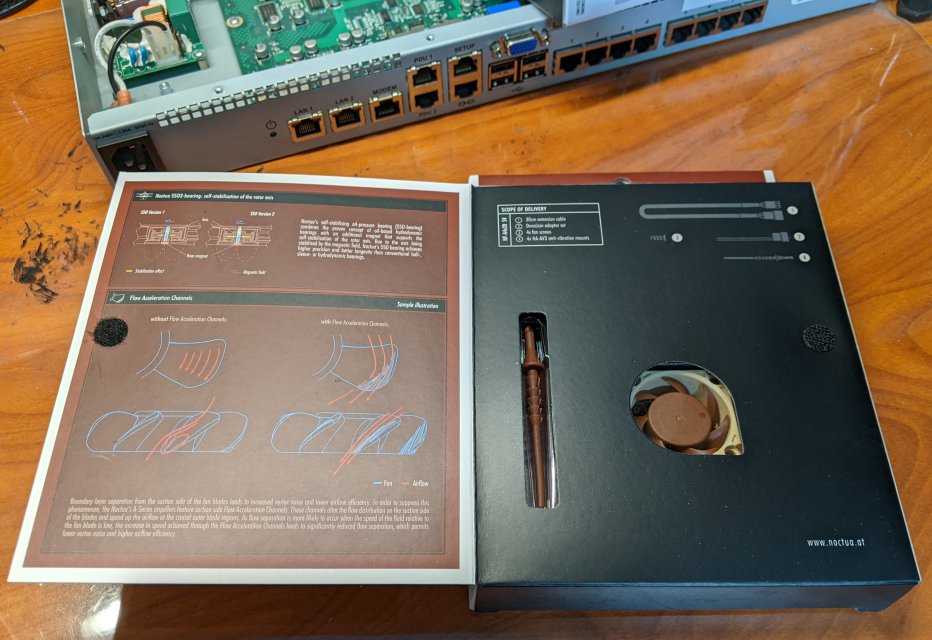
The packaging for the Noctua fans is a little…excessive. They certainly are aiming at a certain class of buyer who expect good things to come in good packaging, even if that packaging is completely unnecessary. Many nice accessories were included, none of which were needed or used. Unfortunately when the packaging is this good, one tends to question if the packaging quality is compensating for the quality of the goods within. Hopefully these fans will hold up over time.
Extracting the original Sunon fans was trivial – just two screws each. Physically the fans were practically identical.
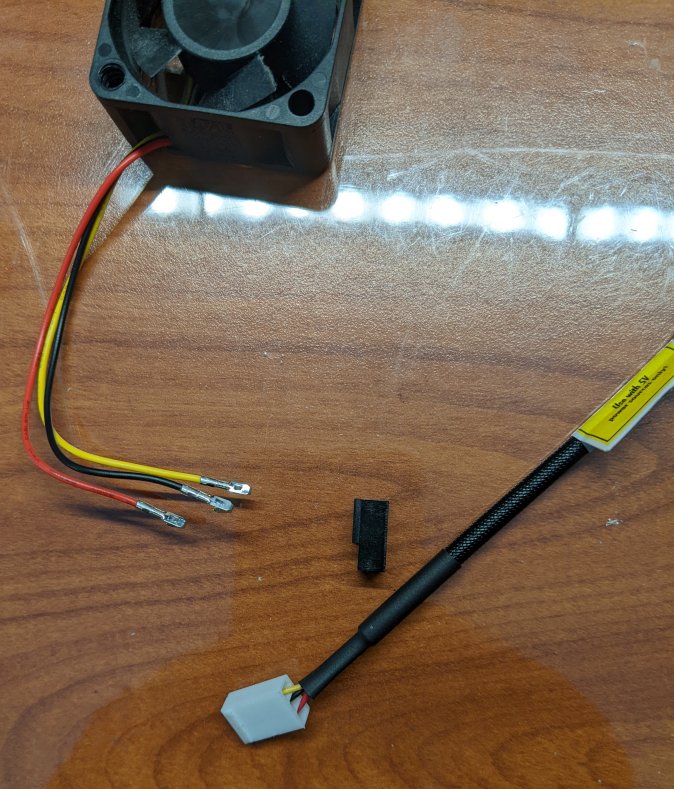
However, upon inspection it was found that the original Sunon fans were using a different pinout and connector compared to the new Noctua fans. Luckily the crimped-on pin components of the connectors were the same, so a simple swap of the original plastic connector onto the new fans while rearranging the wires to be in the correct places was all that was needed.
Re-installation of the fans was similarly easy, just screw them in. A little dusting and the installation of a few heat sinks completed the work. The new fans worked perfectly when the KVM was powered on, and there were no system warnings in the HTML management page, indicating that the choice of tachometer fans (rather than rotor lock) was the right choice. There is enough intelligence in the Avocent HTML management page to indicate if a fan has failed, or if the KVM is a dual power supply system, if one of the power supplies has failed.
The KVM was then closed up, put back into its home, and some new sound tests were performed.
| Off | On (Original) | On (Replacement) | |
| Head Height | 27dB | 33dB | 28dB |
| Under Desk | 28dB | 40dB | 32dB |
The fan replacement reduced the sound output by about 5 to 8 dB. Using the same example scales as before, this now puts the KVM into the realm of a ‘whisper’, or ‘rustling leaves’, which objectively sounds about right. More importantly, now, the KVM is quieter than the computer systems that it serves.
Final Verdict
Are the Noctua fans nice? Yes.
Are the Noctua fans worth the price? Debatable.
Was the noise level of the KVM reduced? Yes.
Was spending $43.89 a worthwhile expense? Yes.
Overall, I am happy with the work done. The KVM is now tolerable to have as an office mate, and a lot was learned. Time will tell how the fans will hold up, but I’m sufficiently impressed with them to choose the Noctuna brand for other ‘silencing’ operations in the future.